How to Switch to tablet mode in windows 10
Make sure to create a restore point just in case something goes wrong.
How to Switch to tablet mode in windows 10 Method 1: Use Tablet Mode or Desktop Mode Automatically Method 2: Switch to Tablet Mode using Action Center Method 3: Switch to Tablet Mode using Registry
Method 1: Use Tablet Mode or Desktop Mode Automatically
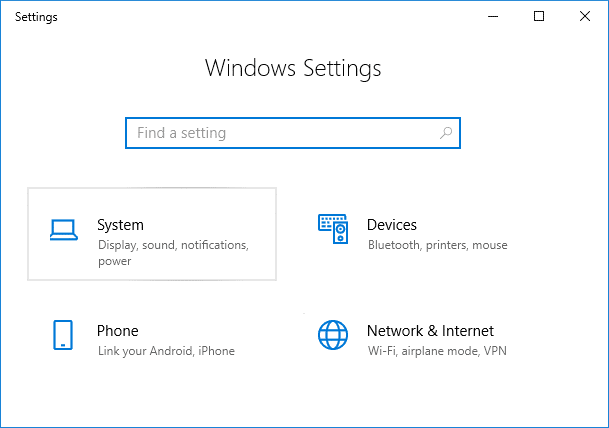
Press Windows Key + I to open Settings then click on System.
From the left-hand menu select Tablet mode.
Now under When I sing in select “Use the appropriate mode for my hardware“.
Note: If you always want to use desktop mode, then select “Use the Desktop mode” and if you want to use tablet mode, then select “Use Tablet mode”. 4. Under When this device automatically switches tablet mode on or off select “Always ask me before switching“. 5. Reboot your PC to save changes.
Method 2: Switch to Tablet Mode using Action Center
Click on the Action Center icon in the system tray or press Windows Key + A to open it.
Again click on Tablet mode under Action Center to turn it ON.
If you want o switch to desktop mode then again clicks on Tablet mode to turn it off.
Restart your PC.
Method 3: Switch to Tablet Mode using Registry
Press Windows Key + R then type regedit and hit Enter.
Navigate to the following registry key: HKEY_CURRENT_USER\SOFTWARE\Microsoft\Windows\CurrentVersion\ImmersiveShell
Select ImmersiveShell then from the right window pane double-click on TabletMode DWORD.
Now under the value data field type 1 and click OK. 0 = Disable Tablet Mode 1 = Enable Tablet Mode
Reboot your PC to save changes. Recommended:
Fix One or more network protocols are missing on this computer Fix You’ve been signed in with a temporary profile error Windows sockets registry entries required for network connectivity are missing Fix High CPU Usage by Service Host: Local System
That’s it you have successfully learned How to Switch to tablet mode in Windows 10 but if you still have any queries regarding this post then feel free to ask them in the comment’s section.


